Getting Started: Installation, Login, and Scanning
Download the App
- Open the App Store or Play Store on your mobile device.
- Search for 'OCE Mobile'.
- Click the 'install' button.
Login
- Open the 'OnCampus Events' app on your mobile device.
- Enter the email and password associated with your OnCampus Events Manager account.
- If needed, tap the "Forgot your Password?' link to reset your password.
- Tap the 'Login' button.
Selecting an Event

The event will be visible in the app one week before the start date and will only be selectable on the day the event begins.
- The events listed are in order of start date, so today's events will appear at the top.
- Tap a listing to select that event.
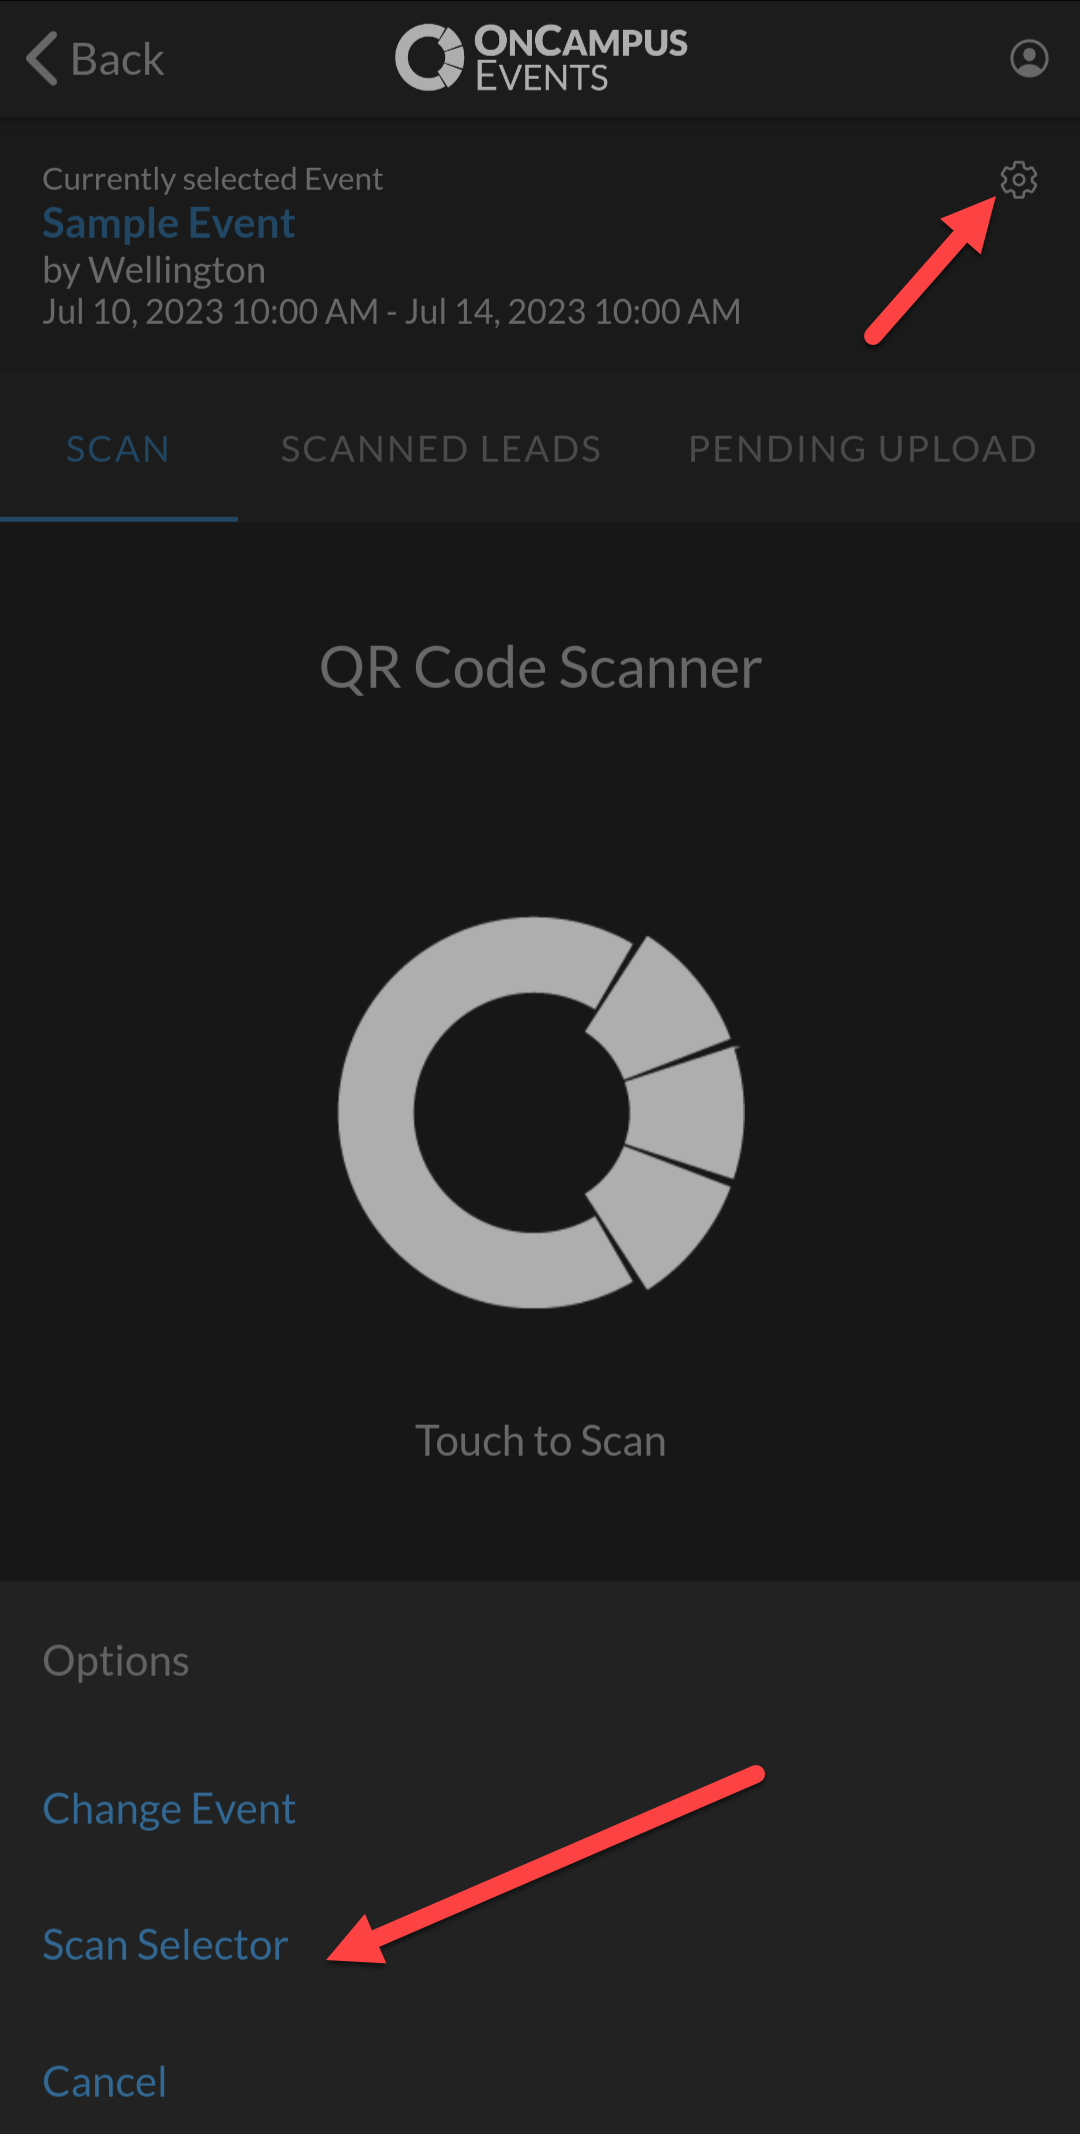
- You may change your event selection at anytime by tapping the 'gear' icon and selecting 'Change Event'.
See related article next: How to Scan
Scanning Event Reception
Select 'Scanning Event Reception' for scanning attendees at your event. This will guarantee accurate attendance reporting for the entire event.
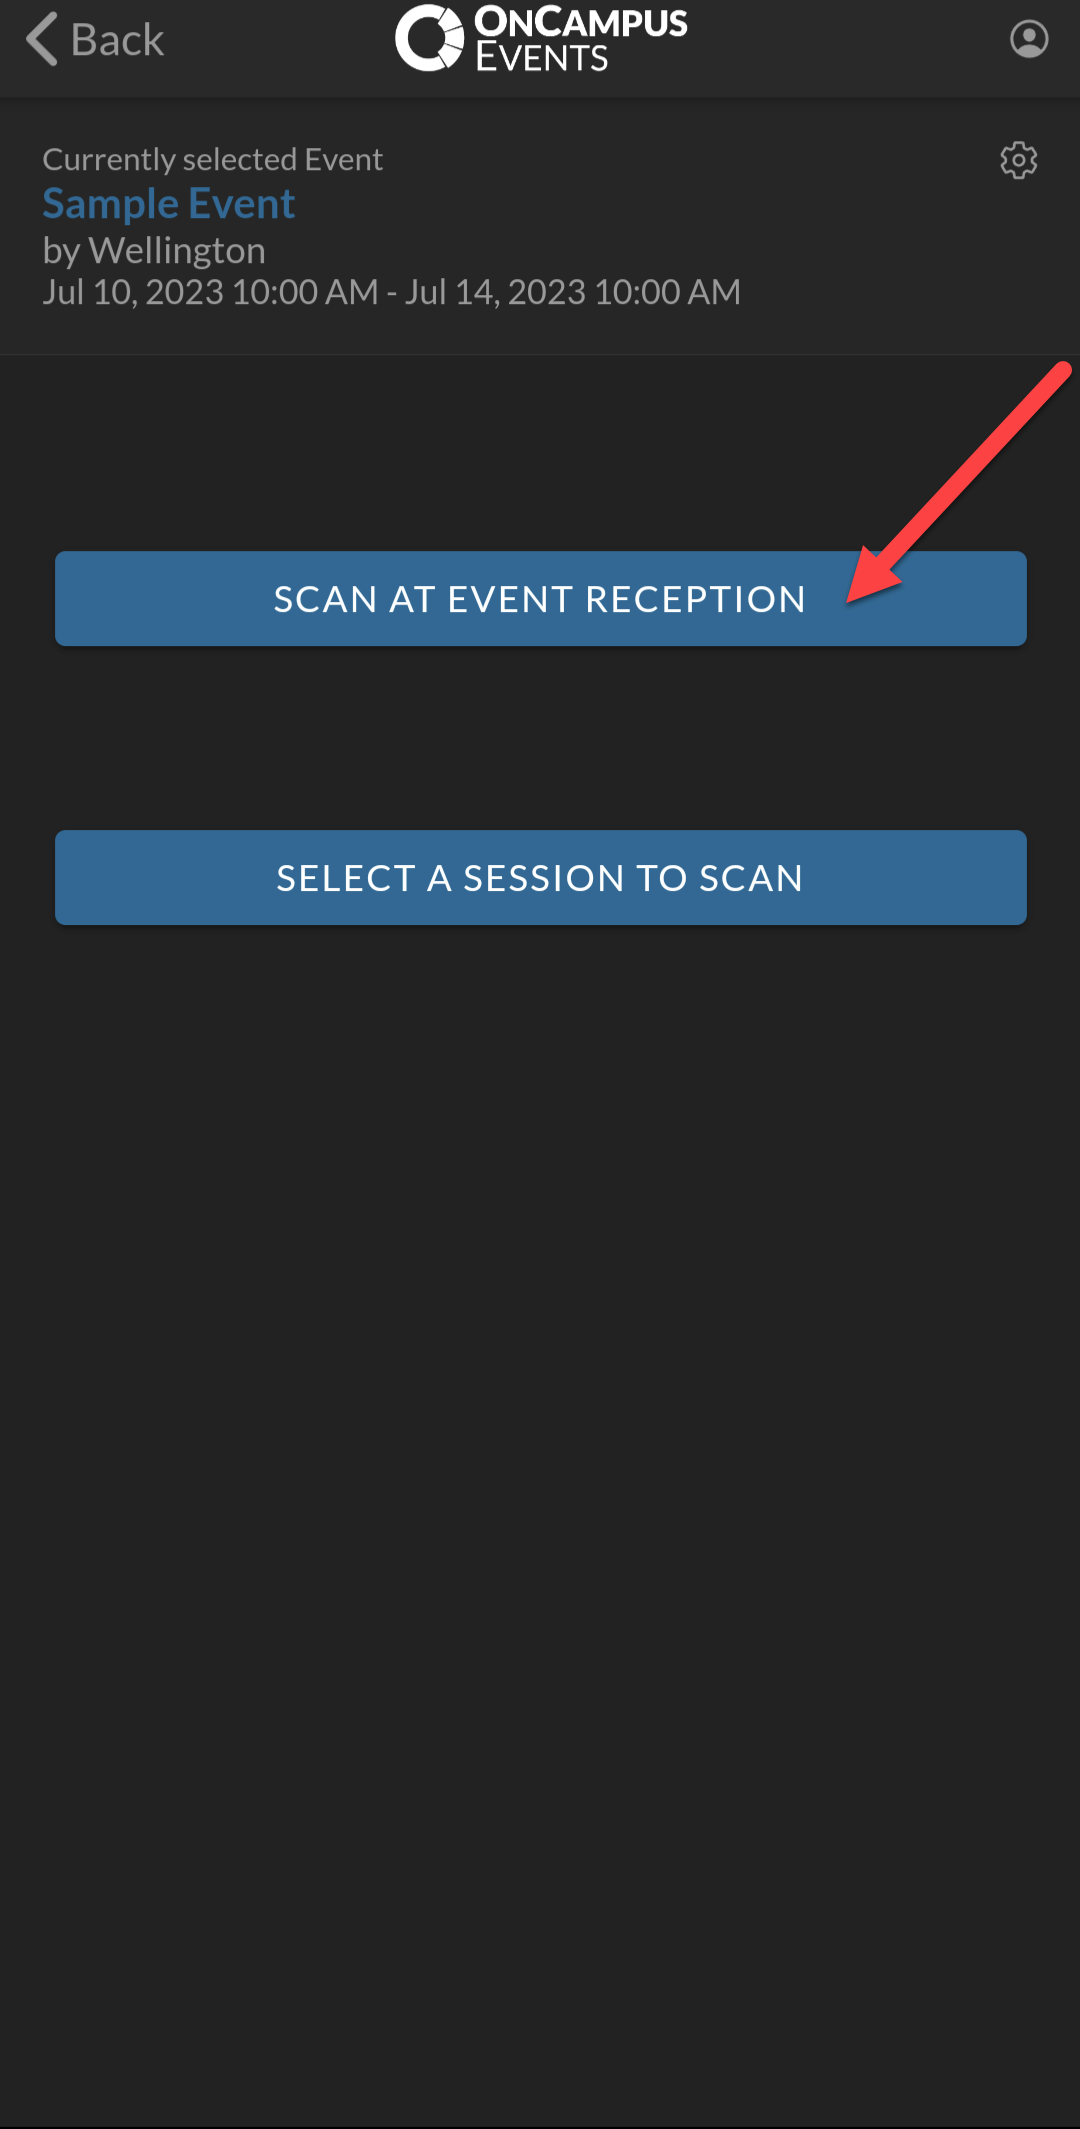
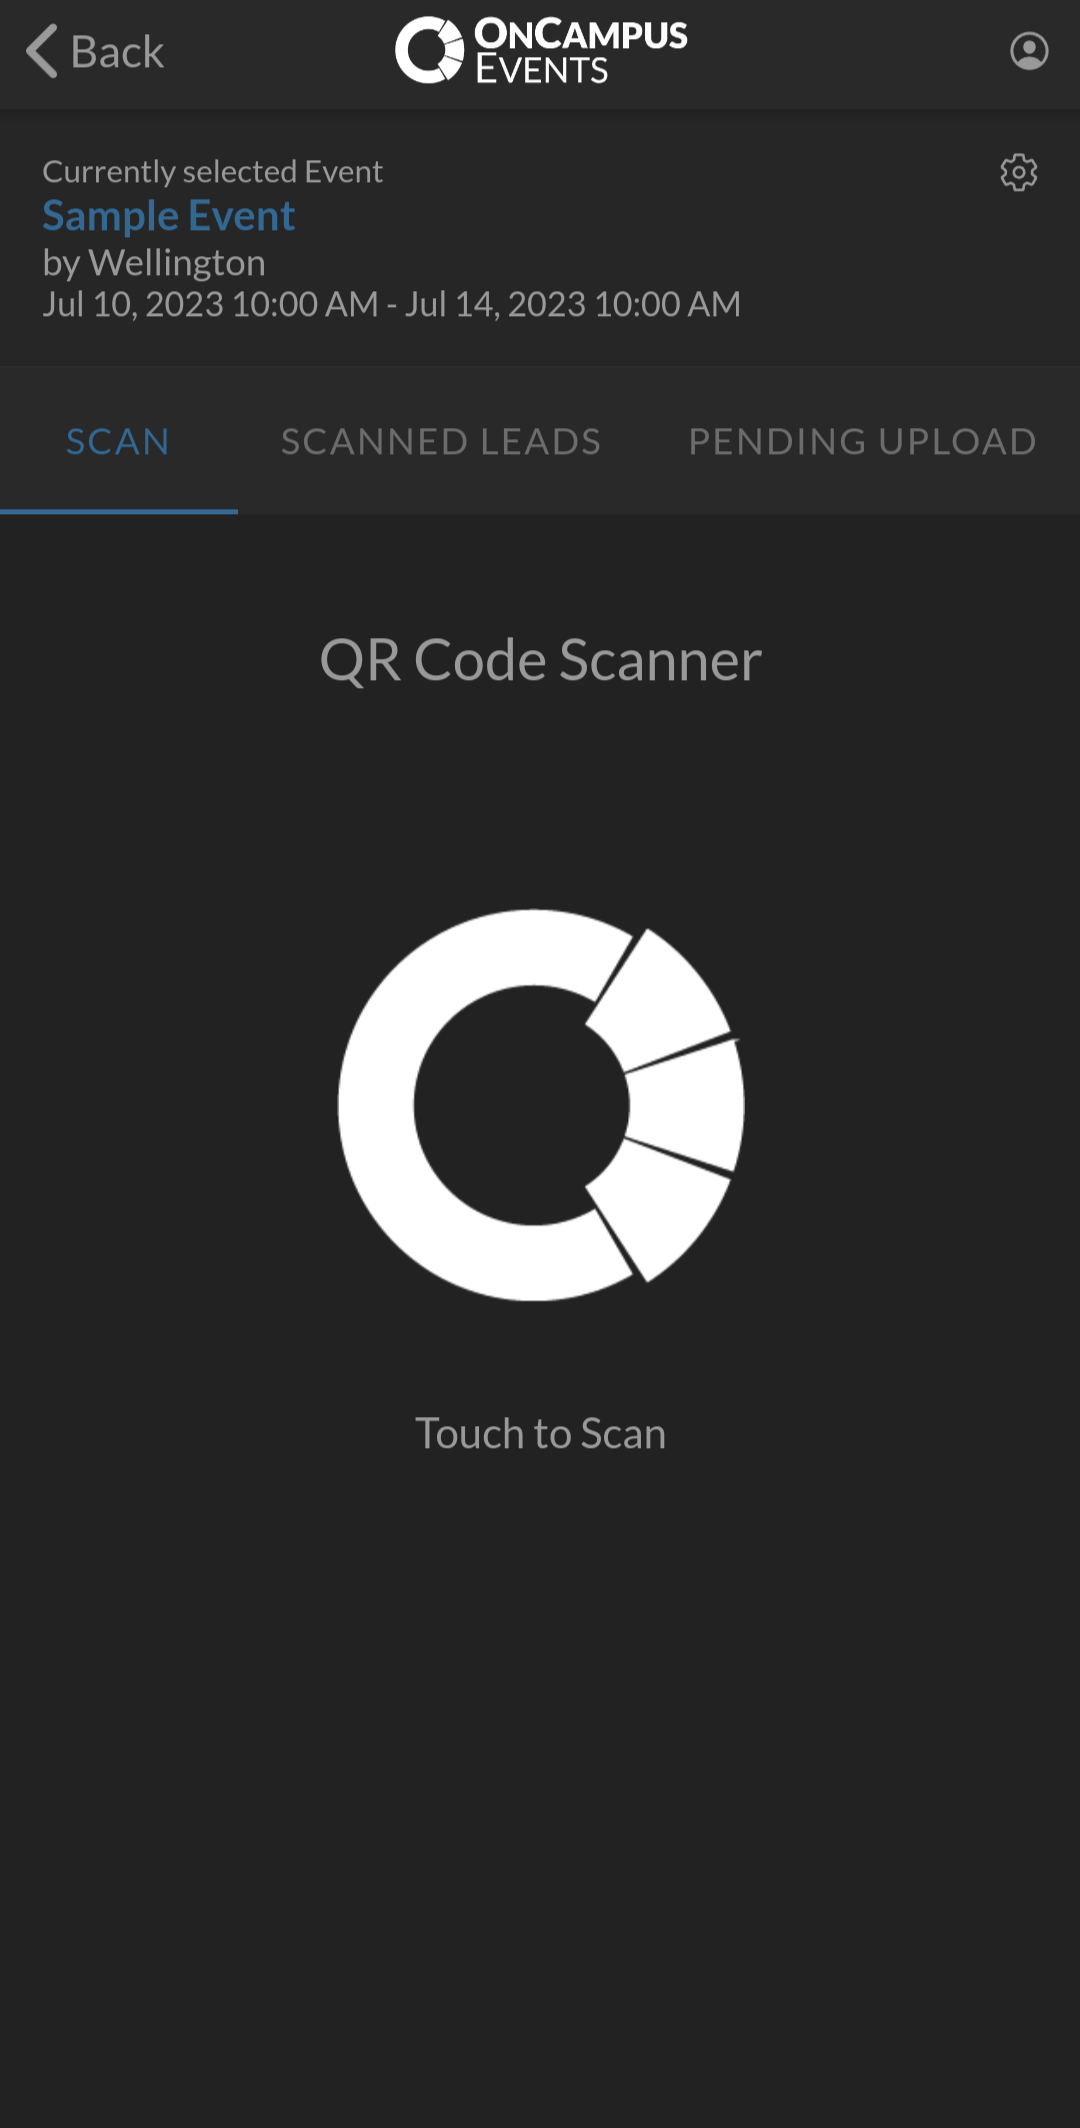
Tap the logo to begin scanning attendee barcodes.
To change your scanning selection, tap the 'gear' icon and select 'Scan Selector' at any time.
Successful scans will prompt a green 'Lead Uploaded' banner notification as shown below:
Scanning a Session
Select 'Scanning a Session' for scanning session attendees. Tap the appropriate session on the following screen. This will guarantee accurate attendance reporting for the selected session.
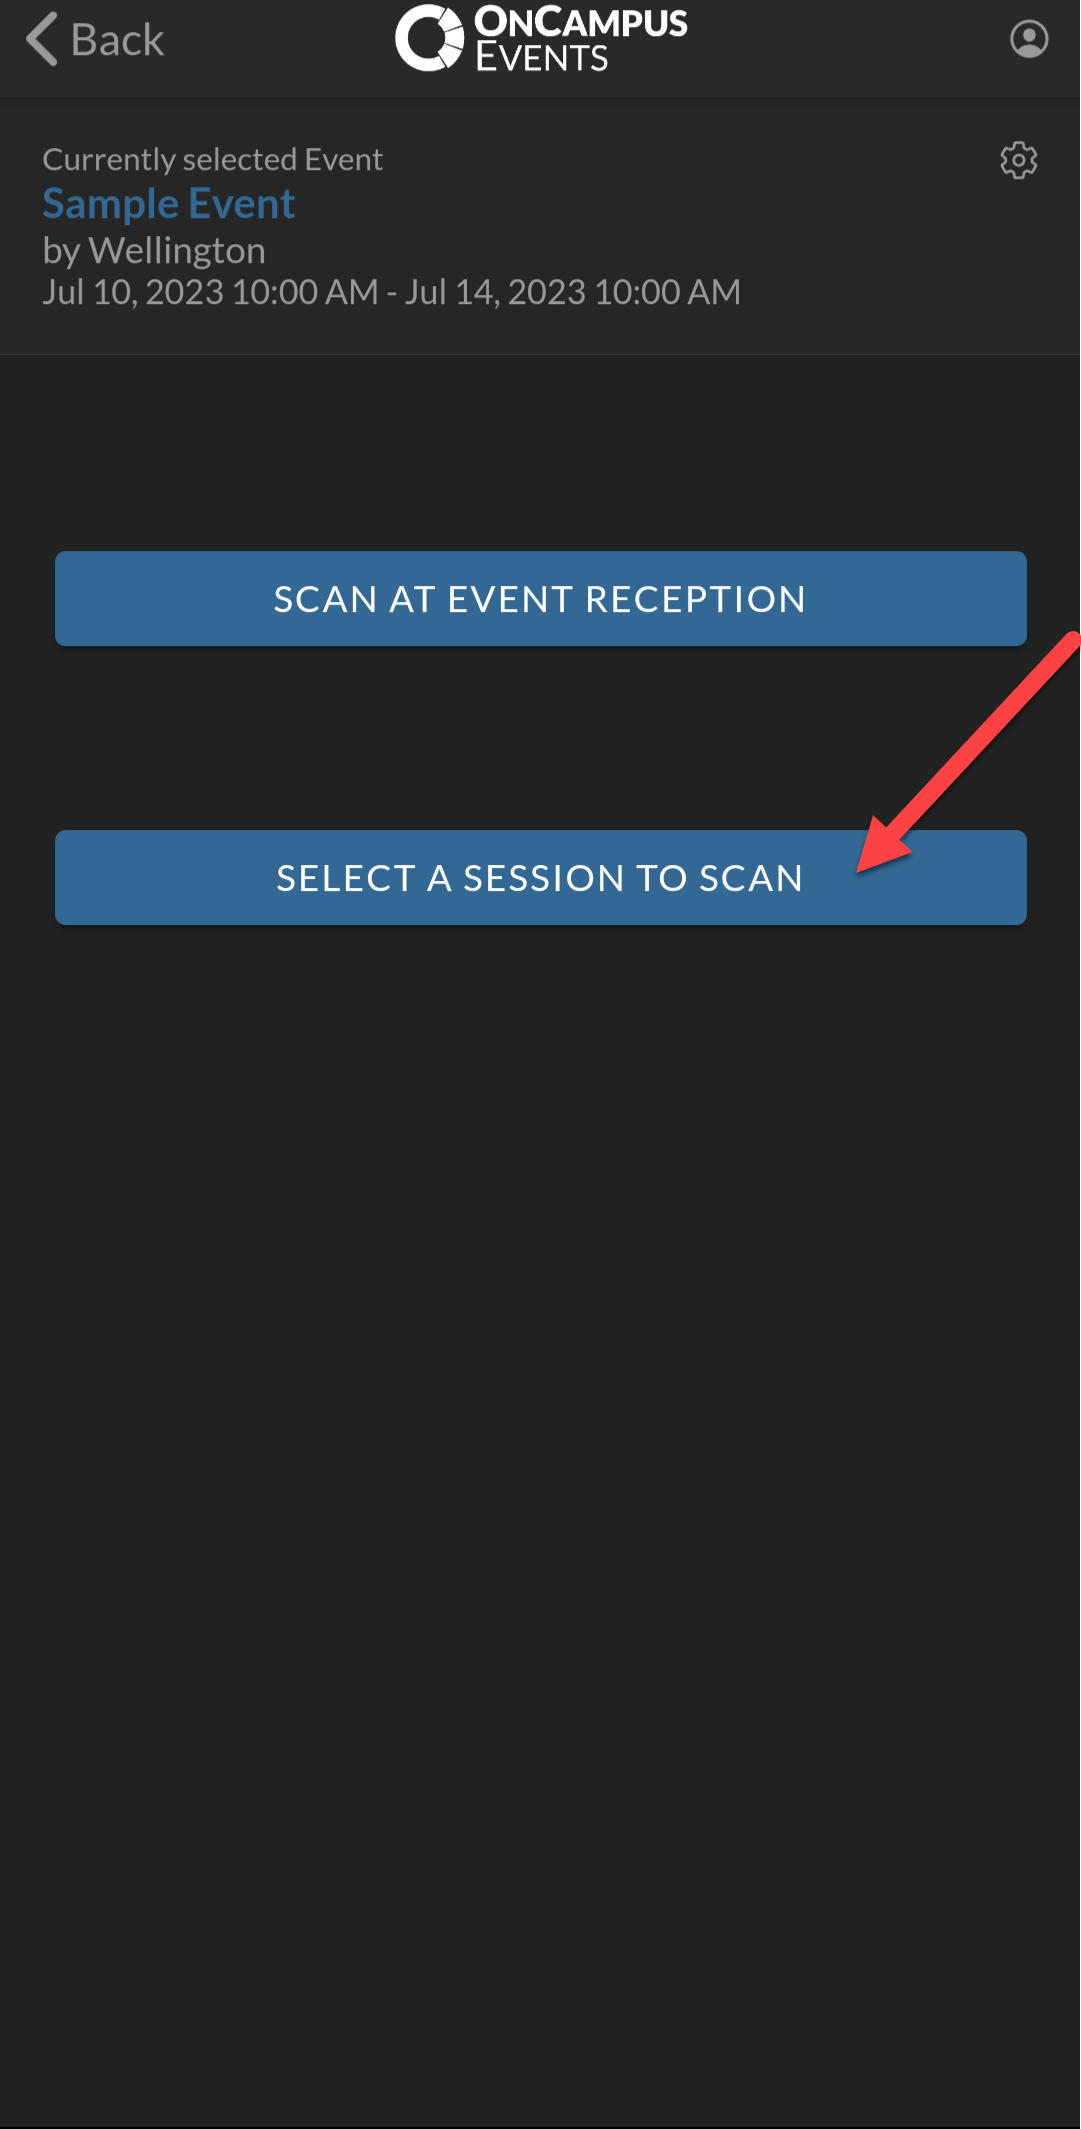
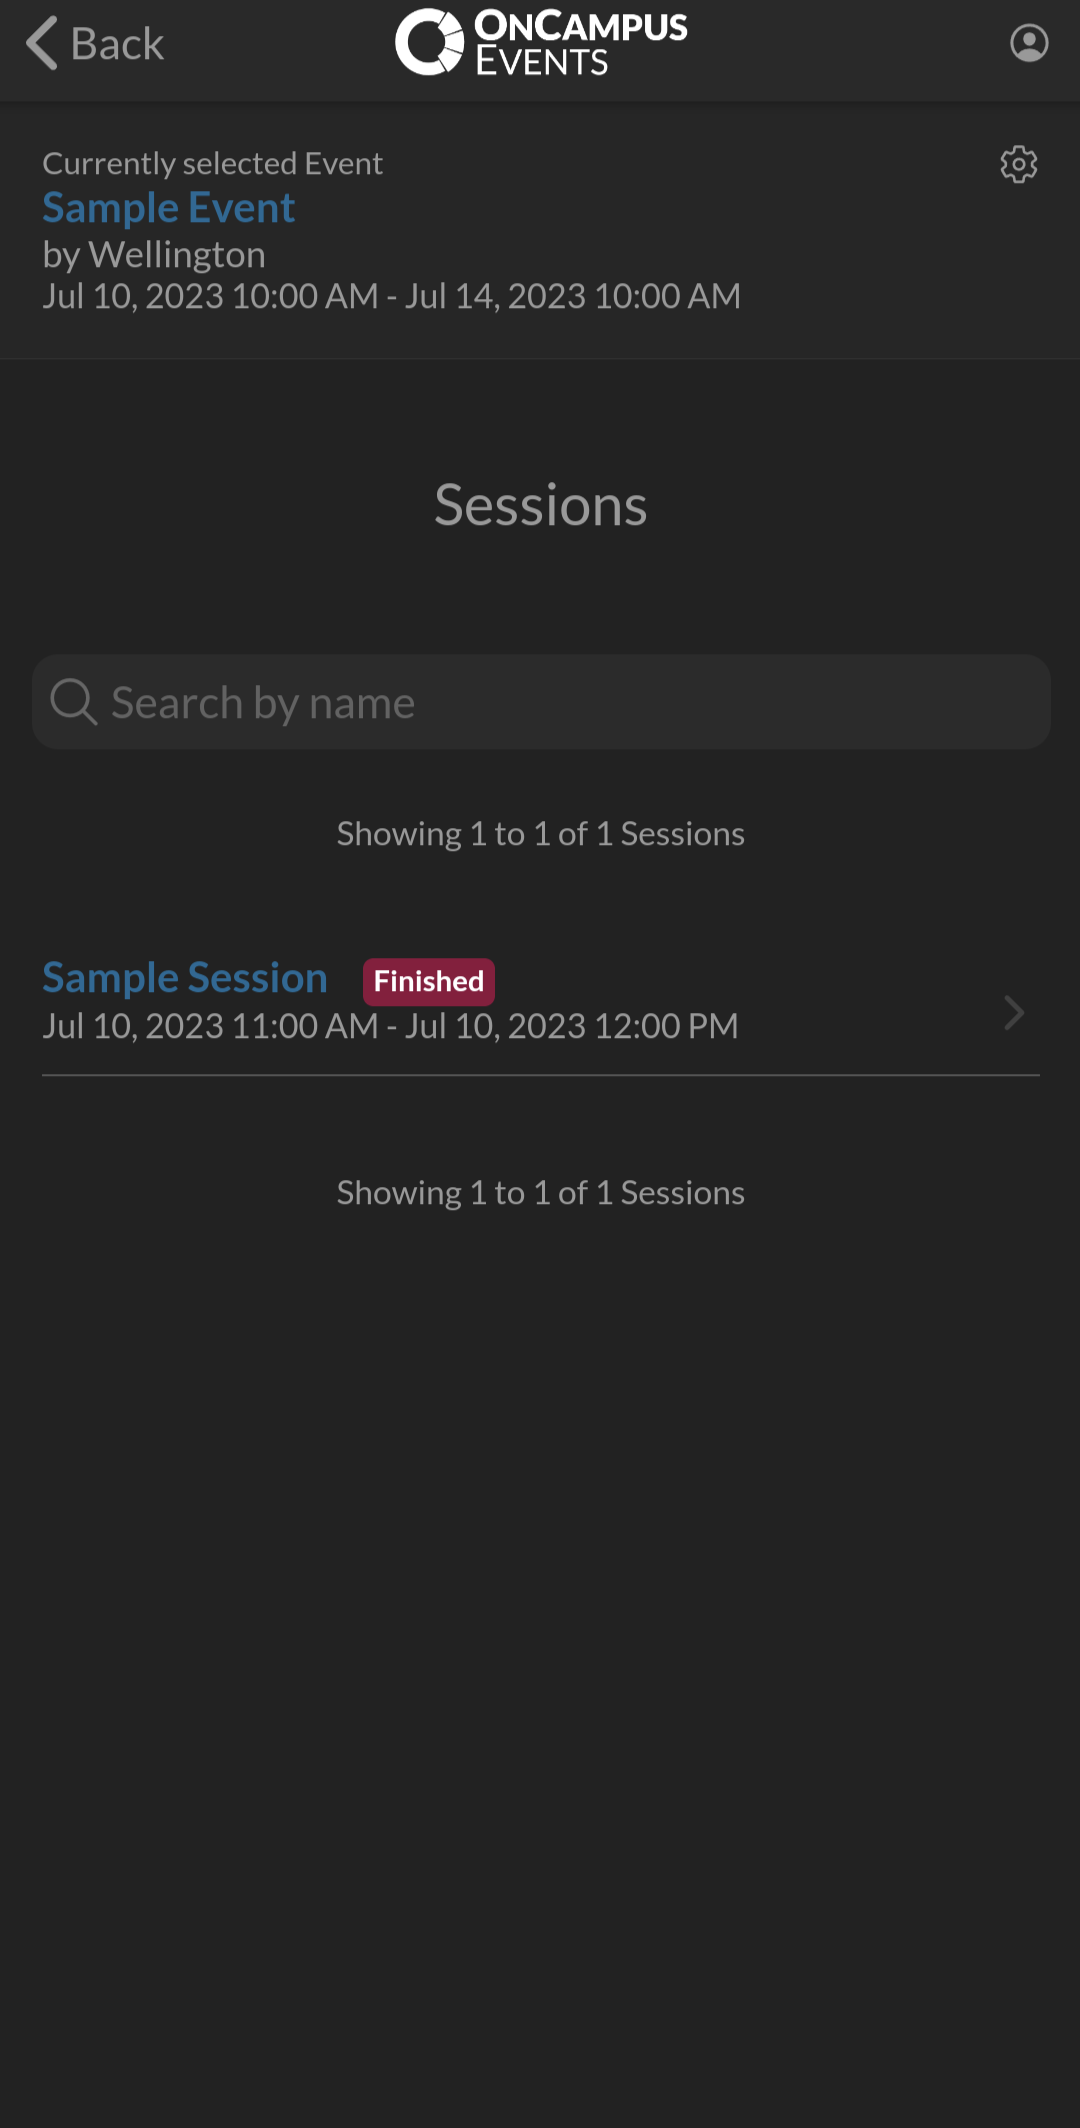
Tap the logo to begin scanning attendee barcodes.
To change your scanning selection, tap the 'gear' icon and select 'Scan Selector' at any time.
Successful scans will prompt a green 'Lead Uploaded' banner notification as shown below: